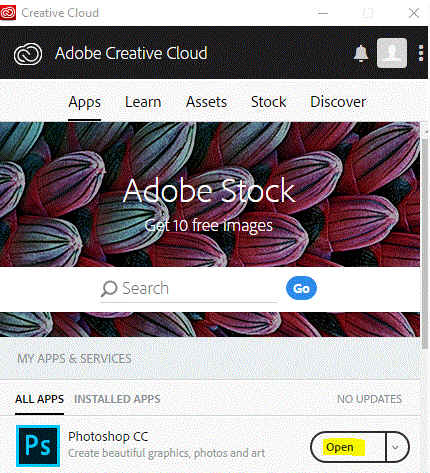
Adobe has bundled many of their software packages for easy access and installation. If you need one or several Adobe products, the Adobe Creative Cloud installer may have the software you need (software list below). Cornell has a cost-free license available to faculty and staff that have a business need for the software. With the license, you can install any software that is available through the Adobe Creative Cloud.
Available Software within Adobe Creative Cloud:
Photoshop, Illustrator, InDesign, XD Premiere Pro, After Effects, Dimension, Lightroom, Dreamweaver, Muse, Animate, Character Animator, Audition, Media Encoder, InCopy, Prelude, Fuse, Adobe DC, and Bridge.
License
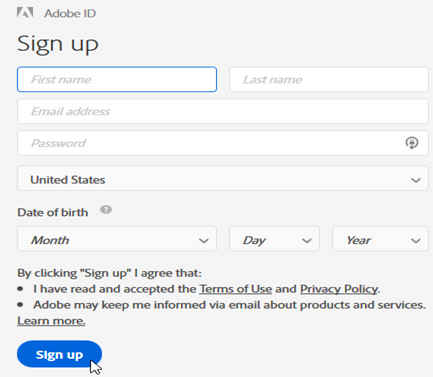
1) Create Adobe ID Account
**IMPORTANT** Make sure you use your netid@cornell.edu for the email address.
You will need to create an adobe ID using this link. Fill out the required fields then click Sign up.
2) Obtain Adobe Creative Cloud License
Submit an ILR Tech Services request for an Adobe Creative Cloud license.
**IMPORTANT** Please note that you need to provide a business reason for the license and list the Adobe software needed (business purpose example – I need to have the ability to edit images for a website in Photoshop).
3) Accept Email Membership
ILR Tech Services will request an Adobe Creative Cloud license on your behalf. Shortly thereafter (usually within 24 hours), you should receive an email directly from Adobe with the title Access is granted. Enjoy All Apps plan now. Open the email and select/click Get Started.

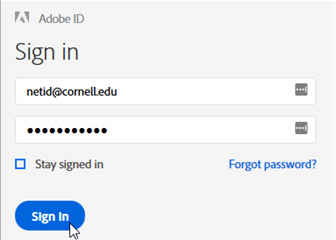
4) Logon with Adobe ID
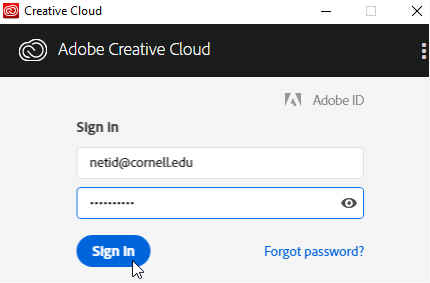
Logon with the netid@cornell.edu account and password you setup for your Adobe ID account -> select Sign In.
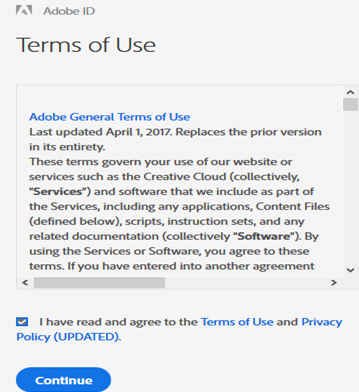
5) Accept Terms of Use
Select the check box to the left of I have read and agree to the Terms of Use and Privacy Policy -> click Continue to accept terms of use.
6) Success!
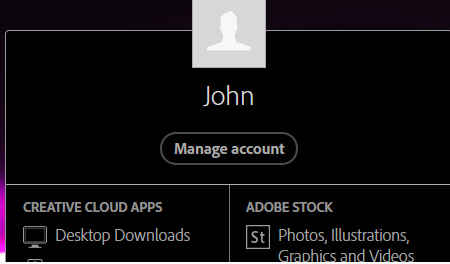
Once in, you will see your first name, manage account, and other options on the left hand side indicating that you’re logged on. Close the webpage or select Sign out at the bottom of the black pane on the left.
Installation
1) Verify and Open Adobe Creative Cloud
ILR Tech Services will communicate (though the original IT service request ticket) that the Adobe Creative Cloud software has been deployed to your computer. Within 24 hours of that correspondence, the Adobe Creative Cloud application will be installed on your computer. Look for the Adobe Creative Cloud icon will appear on the desktop. Double click to open.

2) Sign In
Sign in with your Adobe Creative Cloud account.
3) Install Adobe Software
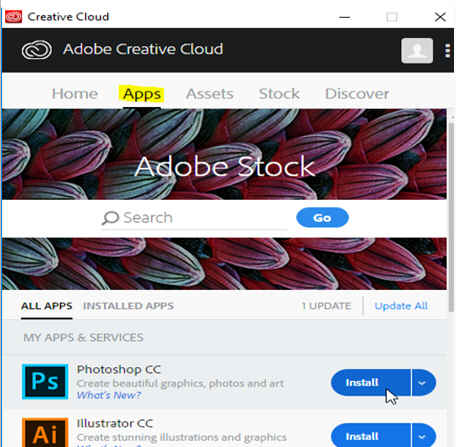
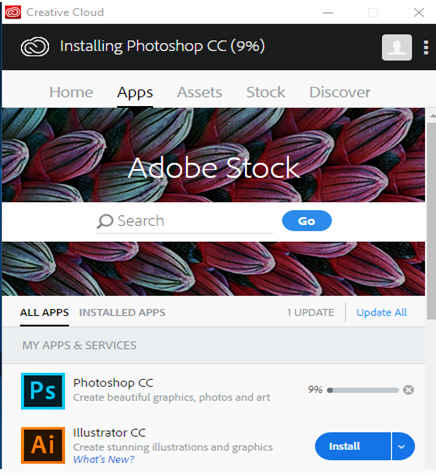
Select the Apps tab under the Adobe Creative Cloud heading -> choose Install on the desired software. The software selected for installation will show installation progress and install. When complete, the Installbutton will change to Open. When all installations are complete, select the X on the top right to close the Adobe Creative Cloud Application.
(Select Apps menu and Install)
(Installation Progress)
(Installation Verification)
